

Everyone loves to have a sweet, delicious, chewy snack or a light lunch for their children for school, but you do not want all the added sugar treats bought from the store. Suddenly, you remember you have a bowl of apples or bananas, but they are starting to go soft. You know what? You can make them into sweet, delicious dried fruit right at home using your kitchen oven.
In this blog post, we will learn exactly how to dry fruit in oven, step-by-step, without fancy tools. There are no preservatives. It’s just delicious, homemade sweetness.
Whether you are drying fruit for snacking, baking, gifting, or even decorating on sweet dishes, this article covers all methods of dried fruits.
How to Dry Fruit in Oven Without a Dehydrator:
The general perception about dried fruit is that you need a special machine, just ike a dehydrator or anything else, but you might be wrong here, you just need an oven for making crispy, chewy dried fruit at home.
Why Use the Oven Instead of a Dehydrator?
- Because you already own it.
- The way it is done it’s easy and budget-friendly.
- You can dry bigger batches.
- It doesn’t take up extra counter space.
- All it takes is low heat, good airflow, and some patience.
How to Dry Fruit in Oven at Home: Ready for it:
So, you are ready to walk through the process of drying fruit in your sweet home oven, just using simple tools and fresh ingredients.

The Simple Way: You’ll need:
- Fresh fruit (apples, bananas, strawberries, mangoes, or as you desire)
- Lemon juice (optional)
- Knife or mandoline
- Baking sheet
- Parchment paper or silicone mat
The way we Process:
- The Start: Slice the Fruit:
- First things first, carefully wash the fruit and slice the fruit evenly into 1/4-inch-thick slices. Slicing fruit thickly will help it dry at the same speed. Use a mandoline slicer for perfect, even cuts.
- Soaking in Lemon Water (Optional):
- To prevent browning (especially for apples, pears, and bananas), soak the slices for 5-10 minutes in lemon water (1 tbsp lemon juice + 1 cup water).
- Ideal option for baking:
- Set your oven heat range to 140–170°F (60–75°C).
- Line your baking tray with parchment paper.
- Arrange fruit slices in a single layer without overlap.
- Place trays carefully in the oven.
- Leave the door slightly open (use a wooden spoon) to allow moisture to escape.
- Drying time is up to 4 to 10 hours, depending on fruit type and thickness.
- Flip slices halfway through to ensure even drying.
- Cooling and Storing:
- When your dried fruit is ready, let the fruit cool fully. Store in airtight glass jars or ziplock bags. Keep these dried fruits in a cool and dark place for freshness and quality.
How to Use Dried Fruit for Decoration:
So, what do you think dried fruits are just for? Simple eating, no, there are many ways to enjoy these dried fruits that will surprise you. Here are some creative ways to use dried fruit for decoration:
- Natural Garlands:
When we talk about dried fruits’ interesting usage, we can string together some fruits like apples, oranges, and figs to create festive garlands. These dried fruits are perfect natural decorations for hanging on mantels, doorways, or Christmas trees. Their delightful color and rustic charm bring a beautiful, handmade touch to your decor.

- Wreath Embellishments:
In the autumn and winter seasons, we have another unique idea for dried fruits, we can wire or glue some dried fruits like cranberries, oranges, and cinnamon onto wreaths to add texture and color. Its eye-catching and fragrant seasonal look inspires people.

- Table Centerpieces:
To make your dining table center a more natural look, scatter dried fruit among candles and pinecones. It is a great way to add a pop of color and a subtle fruity scent to dinner tables. So, you can make your special occasions more delightful without depending on artificial items.

- Gift Wrapping Accents:
Another exciting way to use dried fruit is to tuck slices under ribbons or twine on wrapped gifts. This creates a beautiful and simple look, enhancing the value of your gifts while adding a handmade touch that your loved ones will appreciate. Additionally, this approach is perfect for special cultural or nature-themed celebrations.

- Candle Holder Fillers:
Place dried fruit slices around the base of candles in glass containers or lanterns. So, you can create a hot, comfortable ambiance and infuse the area with citrus or apple scents, which is perfect for autumn or winter home styling.

- DIY Dried Fruit Art Projects:
Dried fruits can be used in collages, frames, or handmade cards as a creative craft material. Their textures and colors make them interesting focal points in mixed media projects, adding a natural and artistic flair.

- Event Décor
Incorporate dried fruit into event settings such as weddings, baby showers, or garden parties. These elements can be used in table runners or drink garnish arrangements, enhancing themes like bohemian, rustic, or tropical with their vibrant and earthy appeal.

- Window Hangings
Create window hangings that catch the sun using dried fruit slices. The light filtering through the translucent pieces creates a stained-glass effect, adding warmth and natural beauty to your windows.

How to Make Fruits Dried Without an Oven:
If you don’t have an Oven, or do not want to dry fruit in an oven, for any reason, no problem. Here are several ways to dry fruit. Let’s go through some methods mentioned below.
- 1. Dehydrator:
- 2. Air Fryer:
- 3. Microwave:
- 4. Sun-Drying:
How to Dry Fruit in a Dehydrator:
As mentioned above, we learned how to dry fruit in the oven; now we learn the other method, which is one of the easiest and most reliable ways to dry fruit at home. Yes, you are thinking the right way; it is a food dehydrator, which is more energy-efficient than using an oven for drying fruits.
The food dehydrator keeps fruit nutrients and sweet flavor even after drying. So, why are you waiting? Let’s do it together.
Why Use a Dehydrator?
- Because the dehydrator is drying evenly with consistent low heat.
- Using a dehydrator is an easy and friendly experience even for a beginner.
- Preserves flavor, nutrients & shelf life
- Great for large batches
How to Dry Fruit in a Dehydrator, let’s do it:
- Wash and Prep Your Fruit: Start with rinsing fruit under clean water. After that, remove seeds, pits, or cores. Remember to slice evenly and thinly; approximately, your fruit slice should be 1/8 to 1/4 inch thick.
- Pretreat (Optional): To keep fruit from browning and to preserve its color, you can pretreat it. Soak light-colored fruits like apples or pears in a mixture of 1 part lemon juice and 3 parts water for 5 to 10 minutes. After soaking, pat the slices dry before putting them in the dehydrator.
- Arrange Fruit in Dehydrator: Lay slices in a single layer on trays. Remember, do not overlap the slices of the fruits, ensure even airflow, and drying.
- Set the Temperature: Set your dehydrator to 130°F–140°F (55°C–60°C). For fruit with high water content (like melons), you can go slightly higher, up to 160°F.

Best Fruits to Dry in a Dehydrator:
You can dehydrate almost any fruit, but these are top picks:
- Apples 🍏
- Bananas 🍌
- Strawberries 🍓
- Mangoes 🥭
- Pineapple 🍍
- Kiwis 🥝
- Pears 🍐
Drying Time by Fruit (Approximate)
| Fruit | Temperature | Time |
| Apples | 135°F | 6–8 hours |
| Bananas | 135°F | 6–10 hours |
| Strawberries | 135°F | 6–12 hours |
| Mangoes | 135°F | 8–12 hours |
| Pineapple | 135°F | 10–18 hours |
| Grapes | 135°F | 12–20 hours |
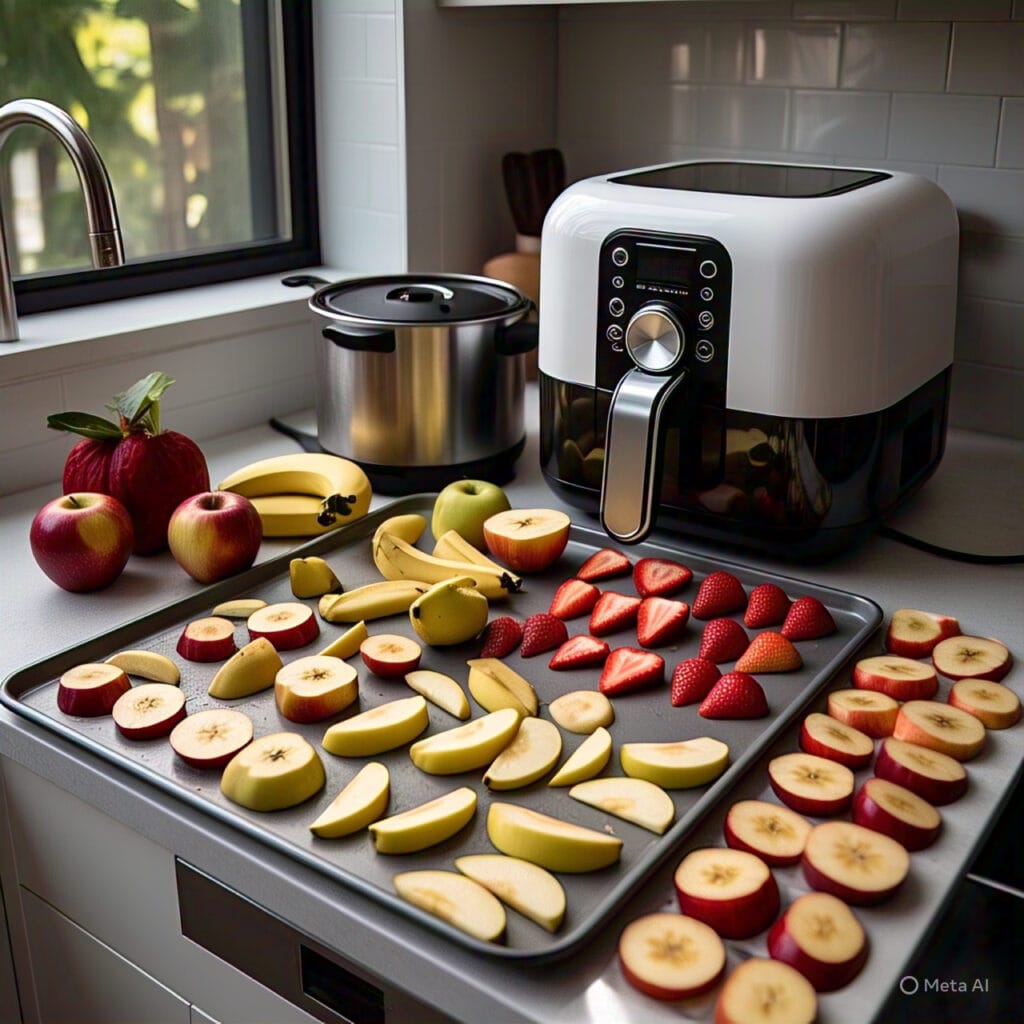
2. How to Dry Fruit in an Air Fryer:
If you do not have an oven, dehydrator, or microwave but you have an air fryer, then you are in luck, because it is a great source for drying fruits.
Steps for Experience:
- Wash and prep the fruit thoroughly and remove any seeds, pits, or cores, and slice the fruit thinly, about 1/8 to 1/4 inch thick.
- The optional step is for Light-Colored Fruits like apples and pears, preventing them from browning. Soak the slices in a mix of 1 part lemon juice to 3 parts water and leave them for 5 to 10 minutes. Remember the fruit should be pat dry before air frying.
- Always place fruit slices in a single layer in your air fryer basket or tray.
- You can use parchment paper with holes to prevent sticking while allowing airflow.
- Set the Temperature of your air fryer up to 130°F–140°F (55°C–60°C) if it allows. If your air fryer doesn’t go that low, use the lowest possible temperature, and check more often to avoid burning.
- Check the Time and flip. Air fryer drying usually takes 1.5 to 4 hours, depending on the fruit type. Flip slices halfway through to help them dry evenly.
- Here you go, they are done when the slices are dry and leathery, not moist or mushy.
- Remember the fried fruit should be left to cool at room temperature. After cooling, store in an airtight container in a cool, dark place. For a longer shelf life, keep them in the fridge or freezer.
Best fruits for air fryer drying:
- Strawberries
- Kiwi
- Bananas
- Apples
3. How to Dry Fruit in a Microwave:
Yes, even your microwave can help you make homemade dried fruit, with a few caveats. Perfect! Drying fruit in a microwave is a quick method, though it works best for small batches and thin slices.
Steps of Microwave-Dry Fruit:
- Prepare the Microwave Plate: Place the fruit slices on a microwave-safe plate lined with paper towel or parchment paper. Keep slices in a single layer and make sure they are not overlapping.
- Microwave in Intervals: Carefully set your microwave to defrost or low power (around 30–50%). Microwave the fruit for 1-minute intervals. Flip the slices every 1 to 2 minutes to ensure even drying. Depending on fruit type, drying time varies from 5 to 20 minutes.
- Store Properly: Once the fruit is fully dried and cooled, store the fruit in an airtight container.
- Keep in mind: it is important to know that some fruits, such as bananas, apples, pineapples, and mangoes, can burn or overcook quickly in the microwave due to their high sugar content, low moisture, or thinness. Microwave drying is most effective for small, thin slices and can satisfy urgent cravings.

4. How to Dry Fruit Naturally without any equipment:
Now, it is time to learn the natural, gifted way of drying fruit. If you are living in a warm, dry climate, then you have the plus point. Because you can dry fruit the old-fashioned way, drying fruit naturally is one of the oldest and simplest methods to preserve it.
Therefore, you do not need modern technologies or machines like ovens or other electrical equipment. All you need is sunlight and a little patience for drying your loving, tasty fruits. Let’s know how you can do it, in your home’s rooftop, balcony, or even in your backyard, you can dry fruits.
Drying fruit naturally is a simple, rewarding process that connects you with nature. Whether you are preserving seasonal fruits or just trying something new, it’s a fun DIY project with delicious results.
How to Do It:
- Slice fruit evenly. Cut into thin, even slices (about 1/4 inch or 0.5 cm thick)
- Dip in lemon water if needed, to prevent browning and preserve flavor. Soak slices in lemon water (1 part lemon juice to 3 parts water) for 10 minutes. Drain and pat dry.
- Place slices on drying racks or screen trays. Lay slices in a single layer with space between them. Avoid metal trays that can react with fruit—use food-safe plastic, stainless steel, or bamboo.
- Put trays in direct sunlight, ideally on a raised surface or drying rack
- Cover with mesh to protect from bugs.
- Place in a sunny, well-ventilated area for 5–10 days. Turn the fruit once or twice a day for even drying.
- Bring Indoors at Night To prevent dew or moisture buildup, always bring your trays inside before sunset.

How do you know that you got the result?
- When you touch the fruit, it feels Leathery or slightly chewy.
- Check that your fruit is not sticky or moist inside.
- No visible moisture when you tear a slice.
Consider these Tips for Success:
- Avoid drying during humid or rainy weather.
- Don’t overlap slices—they won’t dry properly.
- Be patient, because natural drying takes time, but rewards with flavor!
Best Fruits for Natural Drying:
Some fruits dry better than others. Here are great options to try:
- Apples 🍏
- Pears 🍐
- Plums (to make prunes)
- Apricots
- Peaches
- Figs
- Grapes (for raisins) 🍇
- Mangoes 🥭
- Bananas 🍌
- Berries (if weather allows)
- Mullberries
Tips and Tricks for Perfectly Dried Fruit Every Time:
- Always slice the fruit evenly.
- Use parchment paper or silicone mats instead of foil.
- Rotate trays regularly for even drying.
- Allow the fruit to cool completely before storing.
- Label jars with the date they were packed.
Nutrition Comparison of Dried Fruits:
| Nutrient | Fresh | Home-Dried | Store-Bought Dried |
| Vitamin C | 100% | 70-90% | 30-50% |
| Fiber | 100% | 95% | 85% |
| Sugar | Natural | Concentrated | Often Added |
Creative Uses for Dried Fruit:
Beyond Basic Snacking and dried fruit decoration, you can make more unique and creative ideas of dry fruit usage.
- Culinary Applications:
- Add to granola and trail mix
- Bake into breads and muffins
- Create fruit powders for seasoning
- Mixology:
- Garnish cocktails
- Infuse spirits
- Make flavored simple syrups
- Emergency Preparedness:
- Long-term food storage
- Camping and hiking meals
- Power outage snacks

FAQ’s (Frequently Asked Questions):
1. How do you dry fruit at home?
Drying fruit at home is easy and can be done with an oven, dehydrator, Air Fryer, or even sunlight. Here’s a simple way using an oven:
- Wash and peel your fruits (like apples, bananas, and mangoes).
- Slice them thinly (about ¼ inch thick).
- Optional: Soak in lemon water for 5 minutes to prevent browning.
- Place slices on a baking tray lined with parchment paper.
- Set the oven to a low temperature (around 140°F to 170°F / 60°C to 75°C).
- Let the fruit dry for 4 to 8 hours. Turn them halfway through for even drying.
- Check for doneness: Fruit should be dry but flexible (not crunchy).
- Cool and store in airtight containers or glass jars.
2. What is the process for drying fruits?
The drying process is not very complicated; it just removes water from fruits, which helps preserve them and makes them last longer. Here’s how it works step-by-step:
- Select ripe fruits – not too soft, not too hard.
- Clean them well to remove dirt or chemicals.
- Peel and cut into thin, even slices.
- Pretreat if needed (like soaking in lemon juice or blanching) to keep color and texture.
- Dry the fruit using one of these methods:
- Oven: Set at low heat and dry for several hours.
- Dehydrator: A special machine that dries fruit with warm air.
- Sun drying: Works in hot, dry climates; cover the fruit to keep bugs away.
- Oven: Set at low heat and dry for several hours.
- Test for dryness: Fruit should be leathery, not sticky or wet inside.
- Cool and store in clean, airtight containers in a cool, dark place.
This process keeps the fruit safe to eat for months.
3. Is dried fruit healthy?
Yes, dried fruit can be very healthy—if eaten in moderation! Here’s why:
- Nutrient-rich – Dried fruits still have fiber, vitamins, and minerals like iron and potassium.
- No water, more fruit – A small handful can give you the same benefits as a cup of fresh fruit.
- Good for energy – Great for snacks, hiking, or school lunches.
- Tip: Homemade dried fruit is best because you control what goes in it—no added sugar or chemicals!